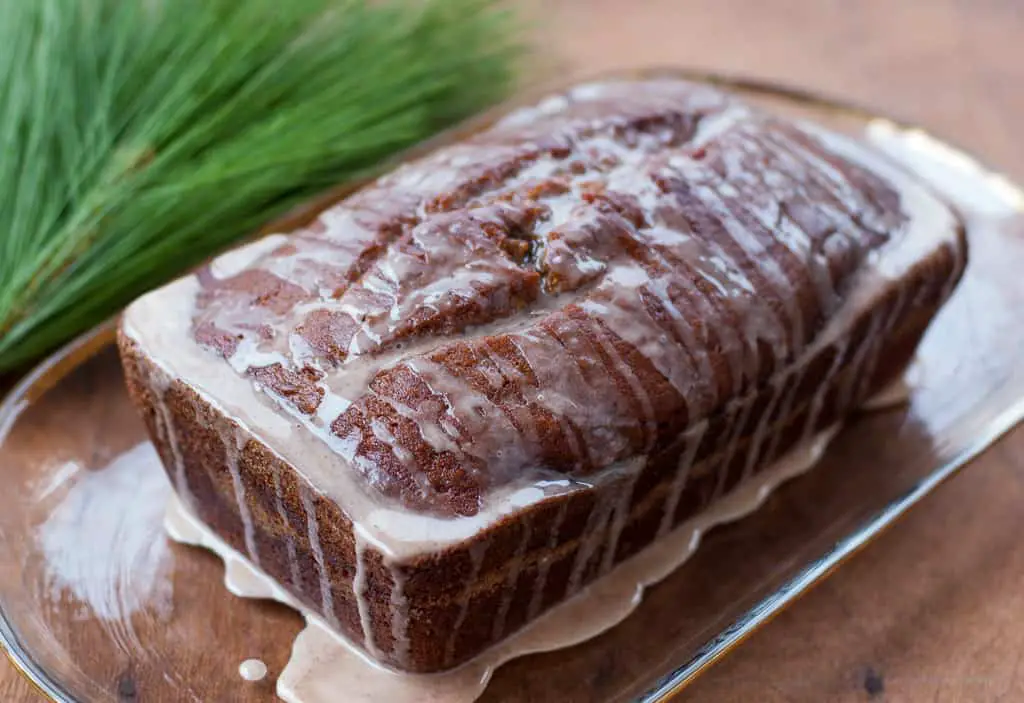
 Sometimes when you’re a food blogger, you have to pull a few tricks out of your hat. Like when I’m making a side dish for the blog, I focus all my attention on the side dish, and then it occurs to me we have nothing but Green Beans with Caramelized Onions for dinner.
Oh, you wanted a main dish with that? Does cereal count?
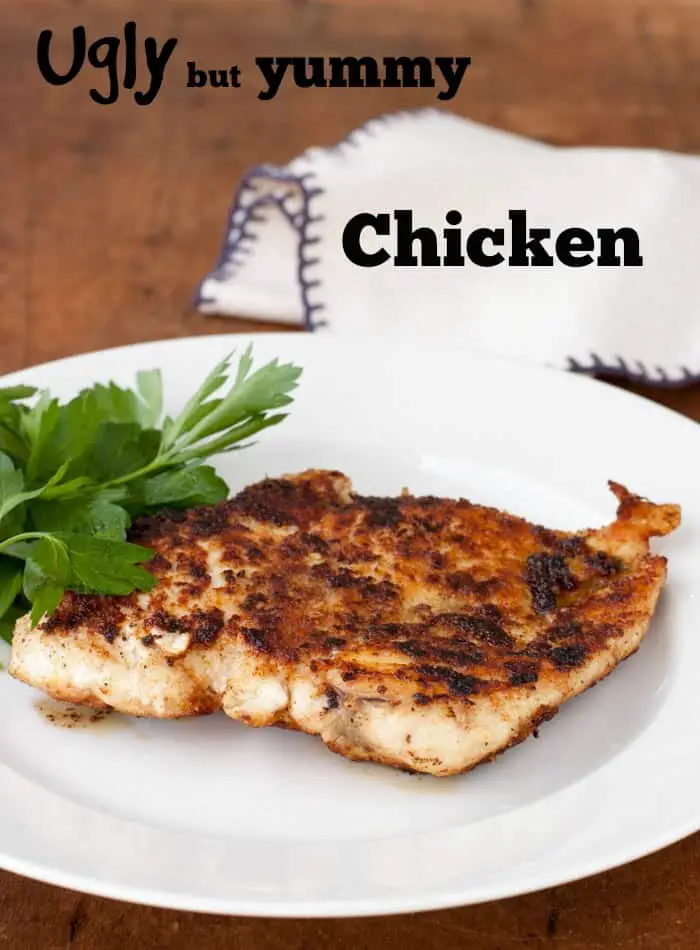
So, I threw together this easy chicken recipe so I’d have something that seemed edible. In fact, I made this so quick I didn’t really get the best pictures. Maybe later? Who are we kidding. It’s ugly chicken.
I warned The Hungry Husband that this chicken would be boring. A real snooze fest. I set the expectations real low.
To our surprise, it was quite juicy and had punch of flavor. Enter: Yummy Ugly Chicken
This was a chicken recipe worth repeating.
“Wow, I really am a cooking genius!” I thought to myself as I admired my greasy, unwashed blogger hair, mismatched PJs, and fuzzy rainbow socks in the mirror. Hey, a girl’s gotta give herself some positive affirmations. Am I alone here? Anyone? And when was the last time I showered? Oh, who cares.
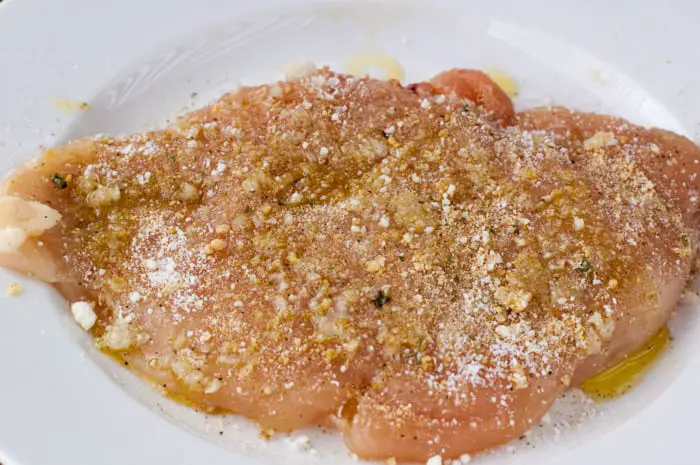
 The secret to this easy chicken recipe is the pulverized onions. And when I say pulverized, I mean they should be smashed to smithereens. Onion milkshake anyone?
Let’s stop and reminisce about the time when I lectured you about pulsing your onions so they wouldn’t turn to mush. Sigh. Those were good times, weren’t they? Yeah, well I accidentally mushed my onions into a frenzy because I wasn’t paying attention when making my Green Beans and, instead of tossing them out, I used them in this chicken recipe. It turned out to be a good mistake.
So now’s your chance to mash those babies up like nobody’s watching. I’ll let it slide this one time – lecture free.
Okay, let’s get on with the chicken recipe.
There are no measurements here – cuz when we’re making a super easy chicken recipe – it doesn’t matter!
1. Smash your chicken.
Don’t get mad. Don’t get glad. Take it out on your chicken. Smash it flat! Pound it to about 1/4 to 1/2 inch thickness. If you don’t know how, here’s a tutorial on how to do that.
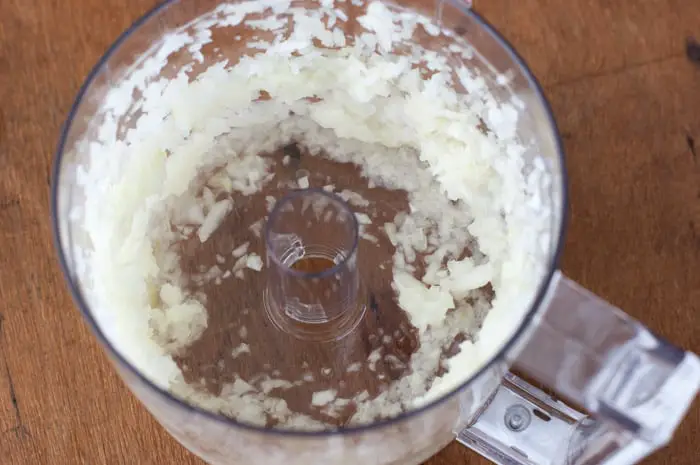
2. Pulverize your onions.
Just put them in a food processor and turn it on. If they turn mushy and have lots of liquid – you did it right. In this pic below, they’re not showing as mushy as I normally like – the onion wasn’t super juicy. But it still worked. If you don’t have a food processor I recommend this inexpensive mini food processor. I love it!
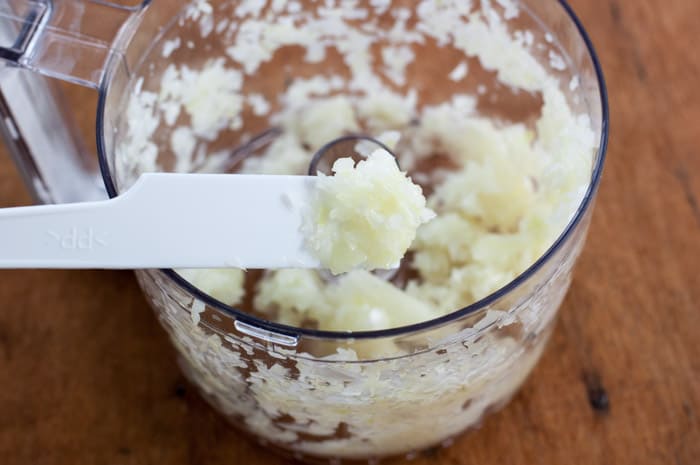 3. Add your secret ingredient: pulverized onions (the juicier the better!)
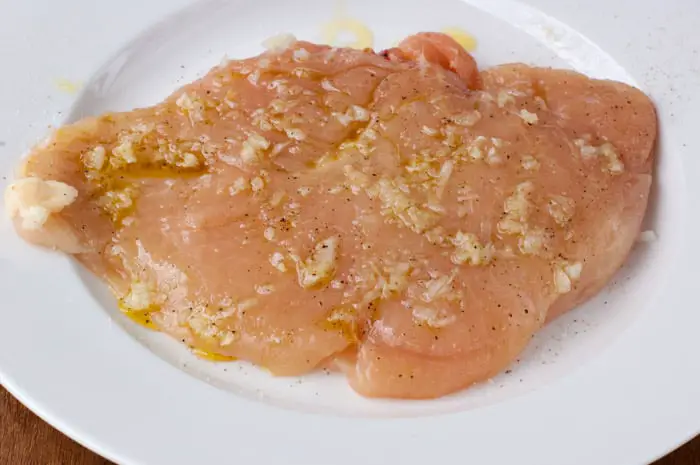
You’re going to flavor 1 side at a time. Drizzle chicken with olive oil. Rub it in with the back of a tablespoon. Add some pulverized onions and rub them in with the spoon. After adding onions, season with salt and pepper. Grinded sea salt is best, but any salt will do. If you have Kosher, that’s a good substitute for the sea salt.
4. Kick it up a notch.
Sprinkle on some seasoned bread crumbs and rub it in with the back of the same spoon. If you add too much breadcrumbs and it looks dry, just drizzle a small amount of oil on it.
Important Salmonella Warning: Do not put the same spoon you’re using to rub things into the chicken back into your bread crumb container or any other food product. Use a separate spoon. It’s easy to cross contaminate if you’re not paying attention!
Sprinkle on some Parmesan or Pecorino Romano cheese.
Sprinkle on some dried oregano. (The pic below is missing the oregano – ooops). So yours should have more green specs.
5. Repeat on other side.
Do steps 3 & 4 for each side of your chicken.
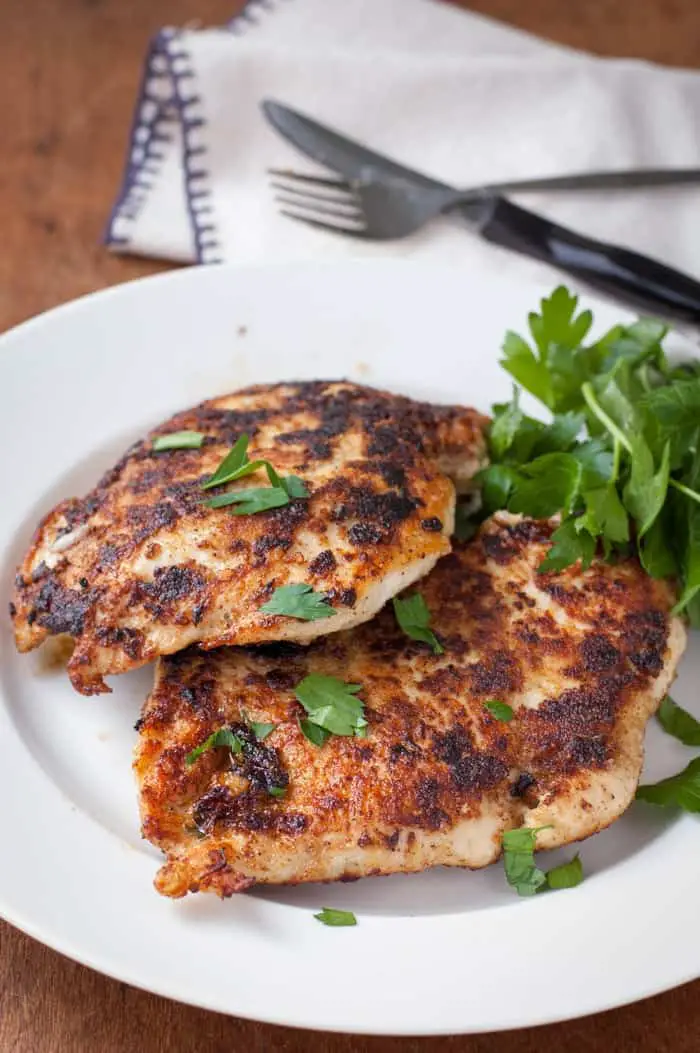
6. Cook it up!
Heat nonstick skillet over medium heat. Make sure the pan is hot enough before you add chicken so you get it nice and brown and sear the onions to the chicken. Add a little olive oil and a pat of butter to pan. Cook 3-4 minutes each side.
7. Admire yourself in the mirror and tell yourself you’re an amazing cook.
Okay, you can skip this step. But I highly recommend it.

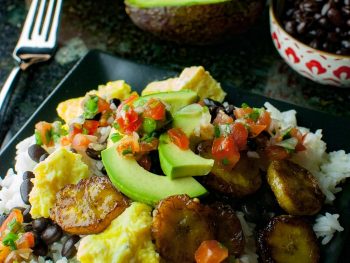
Yummy Ugly Chicken
Ingredients
- Chicken breasts – any chicken breast will do. However, I’ve found that organic flattens easier and has an overall better flavor.
- Olive oil
- 1/2 Spanish/yellow onion
- Sea salt with grinder or kosher salt
- Pepper
- Seasoned bread crumbs
- Finely grated Parmesan or Pecorino Romano cheese
- Dried oregano
- Parsley as garnish (optional)
Instructions
- Pound chicken breasts to about 1/4 to 1/2 inch thickness.
- Put onion into food processor and grind. The mushier the better.
- Drizzle olive oil onto chicken and rub the oil into the chicken with the back of a spoon.
- Rub some of the mushed onion into the chicken with the back of the spoon.
- Generously season with salt and pepper.
- Lightly sprinkle seasoned bread crumbs onto chicken and rub them in with the back of the spoon. (Careful not to stick the same spoon you’re using on the chicken into your breadcrumbs!) If you put too much breadcrumbs on and it looks dry, just drizzle more oil on it.
- Lightly sprinkle on cheese and oregano.
- Flip chicken over and season other side the same way (steps 3-7)
- Preheat nonstick skillet to medium heat. Drizzle a little olive oil in the pan and a pat of butter. When skillet is hot enough add chicken. It should sizzle. Try not to move it around in the pan while cooking. Cook 3-4 minutes each side.
Notes
More great recipes at www.thekitchensnob.com


 How To Pound And Flatten Chicken
I wonder if you could bake this instead of frying it 🙂
I’m not a frying snob but I’m 8 months pregnant and frying food is just bleh for me right now. The whole frying process in our small flat makes me iffy lol !
It looks absolutely lovely and combines two of my favourite foods in the world.
In my first three months of pregnancy I couldn’t eat onions at all and it almost drove me wild. The first time I could actually stomach it was a YAAAAAAAAAAAAAAYAYAYAYAYAYYA moment lol 🙂
I think it would be worth it to try to bake it. I would at least bake it at 350 but you could experiment with a higher temp (perhaps 400). The only downside is that it might not get that crispy outer texture (which is my favorite part). If it doesn’t work out, worst case is, you have some so-so chicken and you experiment another way next time. If baking, you could also add a very small pat of butter over each breast to get a little added flavor and browning. I hope you’ll let me know how the baking turns out.
I haven’t tried this recipe yet, but certainly will
soon! I re-read it again, because it sounds
just delicious!
Nope….tried this last night ….
it taste ok….what I could scrape off the pan…. and there is the problem….then “breading” of onions and cheese and bread crumbs initially stick to the chicken then …..disaster…
Sorry….Nope !!!
Sorry you had such trouble! Curious – was your pan was nonstick or if the teflon is starting to come off? There could be a couple of other reasons for it sticking:
1. Your heat may be set too high. Every stove is different. Mine is electric and runs really hot so I keep mine between #s 3-4. If I put it up at 5 or above, everything would burn and/or stick. For me 3-4 is medium heat. For another stove, that could be 5-6.
2. Perhaps there was too much bread crumbs and cheese applied to the chicken. It should be just a light sprinkling of everything. It shouldn’t look like a breaded chicken (except I do put more onions than everything else).
3. If your pan wasn’t too hot, sometimes the fact that the meat is sticking can mean it’s not ready to be flipped yet. At least, that’s what I learned from watching The Chew. 🙂
I appreciate your comment. Your letting me know it didn’t work out helps me rewrite the recipe so that hopefully doesn’t happen to anyone else. I do hope you’ll give it another try!
That looks like a fun, easy recipe! Since my husband has “issues” with chicken, I am definitely going to try this!!!
Flattening and seasoning the heck out of it is the way to go!